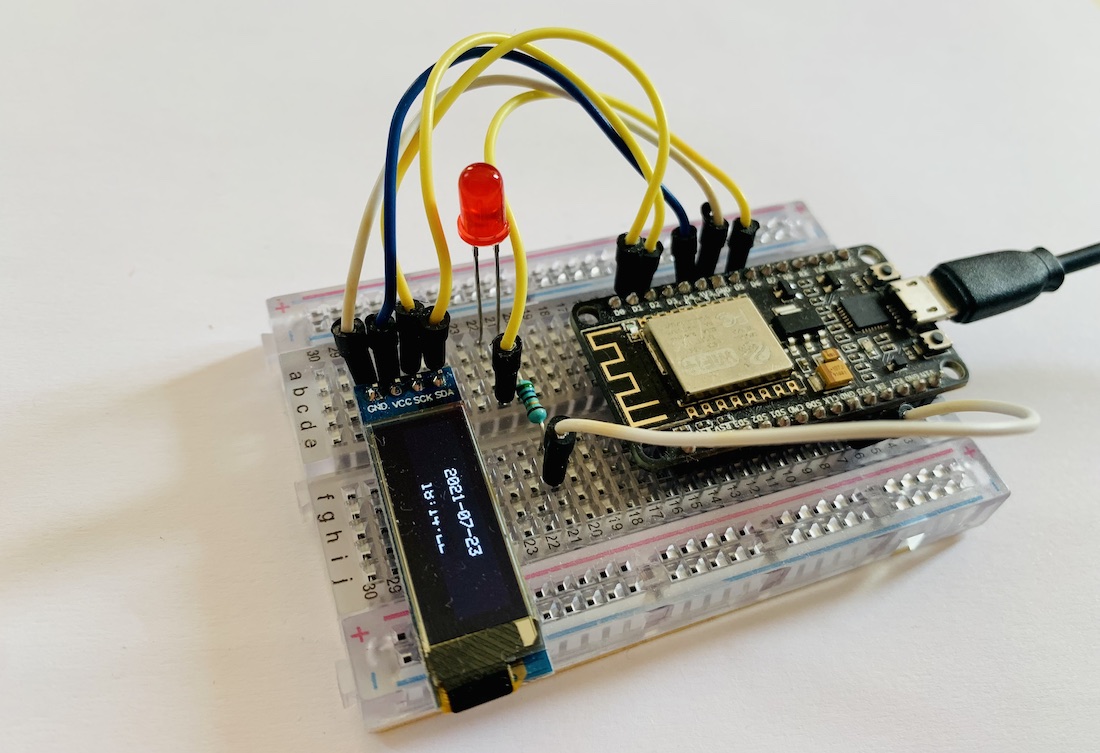
An ESP8266 is a real asset for your projects. With these microcontroller, you can open the door to the Internet of Things wide open! And the best part: You can easily program your ESP8266 with your Arduino IDE – just like your Arduino boards. However, you need to make a few preparations for this.
Learn here how to install your ESP8266 in your Arduino IDE in 5 minutes and then start programming.
Installing your ESP8266 in the Arduino IDE
First, open the settings of your Arduino IDE. There you’ll find the field “Additional Board Manager URLs”. Enter the following address here:
http://arduino.esp8266.com/stable/package_esp8266com_index.jsonTip: If you’ve already entered the URL for your ESP32 there, simply write the ESP8266 one after it, separated by a comma. Then you’ll have both available in the Arduino IDE.
Now close the window by clicking OK. Next, open the Tools menu and select the Boards option and then Boards Manager.
In the window that now opens, search for ESP8266 and find the entry “ESP8266 by ESP8266 Community”. One more click on Install, wait a moment, and that should be it.

Note: If you have problems uploading your sketches with the ESP8266 in the Arduino IDE, try installing an earlier version of the board.
Programming your ESP8266 with a sketch
Now you can get started and program your ESP8266. You’ve probably made the built-in LED on an Arduino blink before – this works on your ESP8266 too.
So create a new sketch with the following code:
// Blinking LED
//en.https://en.polluxlabs.net/wp-content/uploads/2020/02/ESP8266-Webserver-small.jpg.net


#define LED D0

void setup() {
 pinMode(LED, OUTPUT);
 }

void loop() {
 digitalWrite(LED, LOW);
 delay(500);
 digitalWrite(LED, HIGH);
 delay(500);
 }
Now connect your ESP8266 to the USB port of your computer. Select the NodeMCU 1.0 and the port to which your ESP8266 is connected.

Now upload the sketch. If everything worked, the onboard LED should blink every half second.

