Course Content
The Arduino UNO
In the following three lessons, you will get to know your microcontroller - the Arduino UNO. You will learn more about its history, its functions, and most importantly: how to power it.
0/3
The Arduino IDE
For beginners, the Arduino IDE (Integrated Development Environment) is usually the first choice – and for good reason. You can program all Arduino boards with it and manage libraries for sensors, displays, etc. It also features the "Serial Monitor," where you can output data and troubleshoot.
0/2
Your first sketch
In the following lessons, you'll get to know the basic structure of an Arduino sketch and write your own programs. Let's get started!
0/2
The Serial Monitor
Now let's turn our attention to the Serial Monitor – a feature of the Arduino IDE that you will use in virtually every one of your projects.
0/2
Variables
No programmer can avoid variables. In the following lessons, you'll learn what types there are and what you can do with them.
0/3
Controlling an LED
Now it's time for more hardware! In the next lessons, you'll connect an LED to your Arduino. You'll first turn it on and off with a button. After that, you'll build a dimmer to control the brightness of the LED.
0/6
Lie Detector
Discover the entertaining side of electronics by building your own simple lie detector with your Arduino. This fun project uses basic components to measure skin resistance changes when someone might be telling a fib, perfect for adding some playful suspense to your next gathering with friends.
0/1
There’s music inside!
Your Arduino can do much more than "just" make LEDs shine at different brightness levels. For example, it can make music. In the following lesson, you'll learn how to use a piezo buzzer and coax some charming tones out of it.
0/3
A Theremin with Ultrasound
Do you want to make a bit more music? In this lesson, you'll build a theremin that you operate with your HC-SR04 ultrasonic sensor. You move your hand toward and away from the sensor - your Arduino calculates the pitch of the tones from the distance, which are then played through your piezo buzzer.
0/5
The Sound Sensor
Ready to explore how your Arduino can respond to sounds? In this lesson, we'll connect a sound sensor to your Arduino and learn how to make it respond to both digital noise detection and analog volume levels.
0/1
Build an Alarm System
In this project, you will build your own alarm system. It consists of three components: the sound sensor, which you have just learned about, the active piezo buzzer, and the RGB LED.
0/2
The DHT11 Temperature Sensor
Let's move on to another component that you'll certainly use in many projects: the temperature sensor. In this case, the popular DHT11, which can measure not only temperature but also humidity.
0/3
Arduino Course for Beginners

For your Arduino UNO to start working, it needs one essential thing: power. There are several ways you can power your Arduino.

Via USB Cable

Most frequently, you’ll power it from your computer using a USB cable. Since you also transfer your programs to the Arduino via USB, this is the simplest and most obvious option. This provides your microcontroller with 5 volts.

Strom über ein USB-Kabel


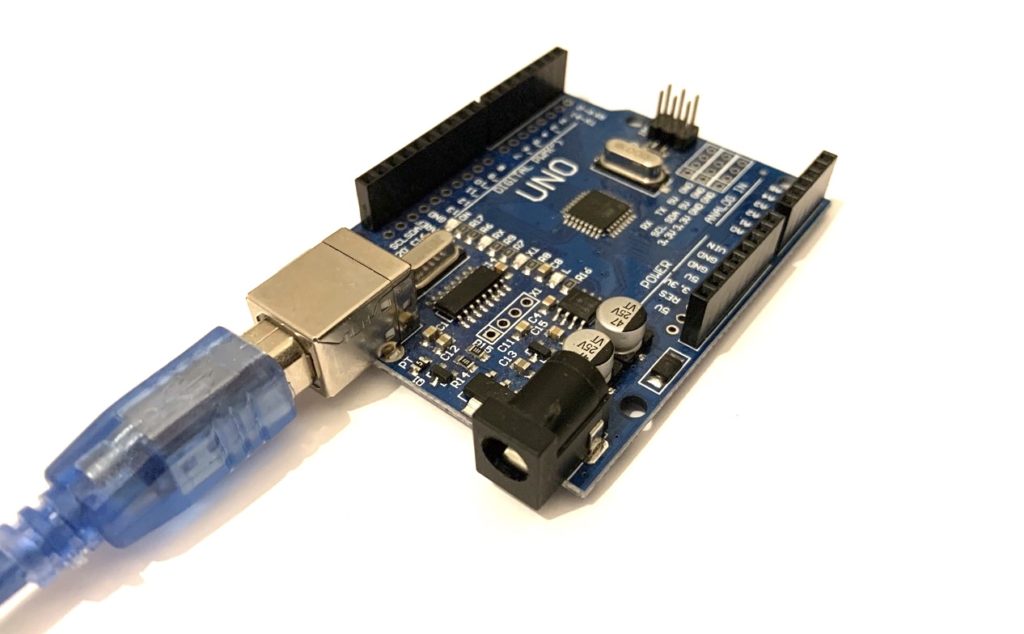
Make sure you use a USB cable that can transfer data, not just power. A common source of failed program uploads is actually cables that only conduct electricity but don’t transfer data.

With a 9V Battery

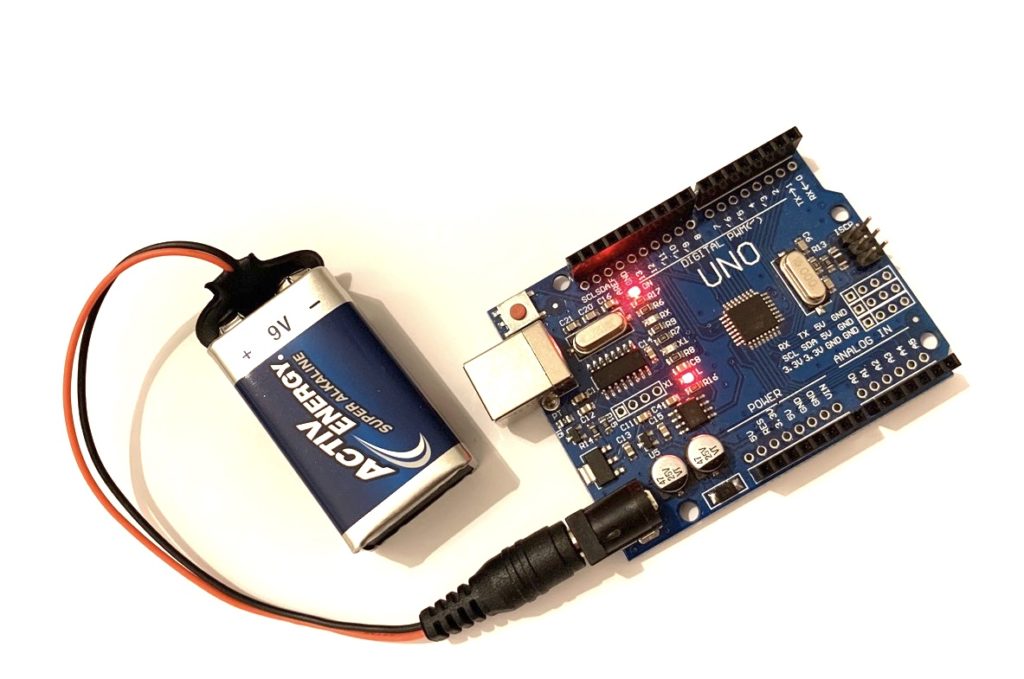
Sooner or later, you’ll build projects that you want to operate independently from your computer. Since your Arduino UNO no longer needs the computer once the program is stored on it, you can use a different power source.

For this purpose, the Arduino UNO has another input for a 9-volt battery. All you need is a battery and a suitable cable. You can find this in most starter kits or for a few cents in stores.

Strom von einer 9V-Batterie


One more tip: A power bank can also serve as a mobile power source. In this case, you would again use the USB cable.

Powering Only the Breadboard

You also have the option to operate an electrical circuit on your breadboard without the Arduino. For this, you can use an adapter that you simply plug onto your breadboard and power either via USB or with a 9V battery.

Strom fürs Breadboard


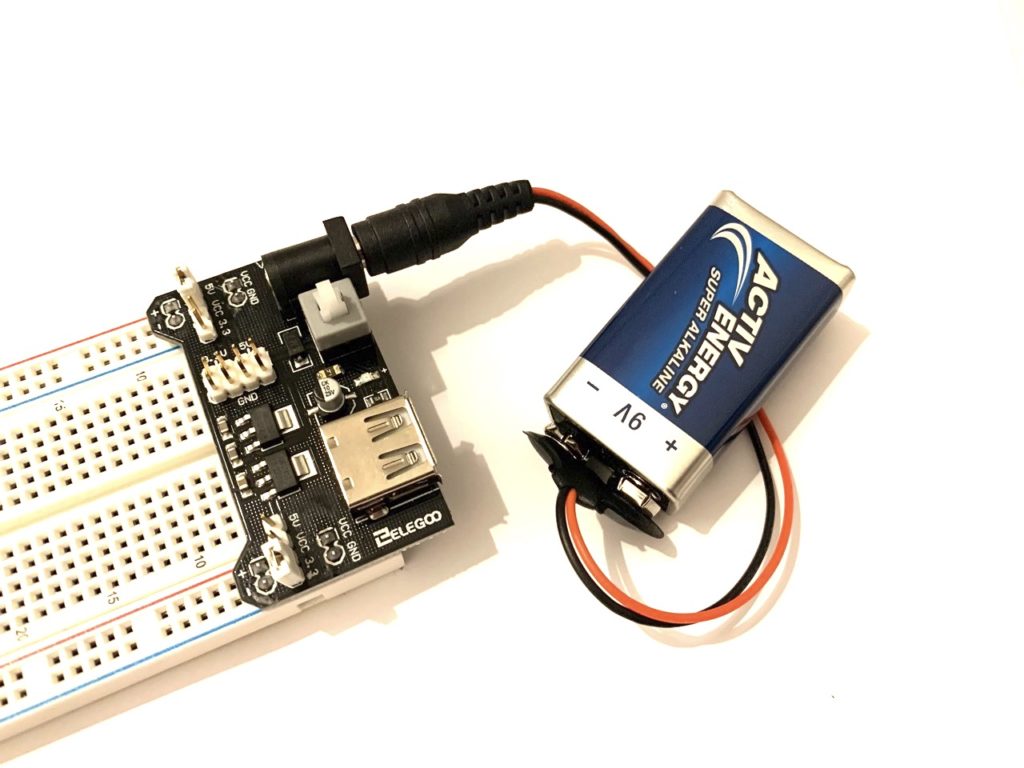
With this adapter, you supply power to the power rails on both sides of the breadboard. With the jumpers on the adapter, you can even switch between 5V and 3.3V, allowing you to power components individually.

By the way, you’ll learn more about the breadboard and how it works in a later lesson.

We don't track you. Enjoy your cookies while making awesome projects!