Besides the “normal” breadboard, there’s another practical option for building projects and experiments: the so-called prototyping shield.
This is a circuit board that you can plug directly onto your Arduino UNO. On the underside of the shield, you’ll find pins that fit into those of your Arduino. When attaching it, make sure you connect the shield flush with the Arduino. Essentially, you’re “extending” the Arduino’s pins upward so you can use them as usual on the top side—meaning you can plug in cable connections.
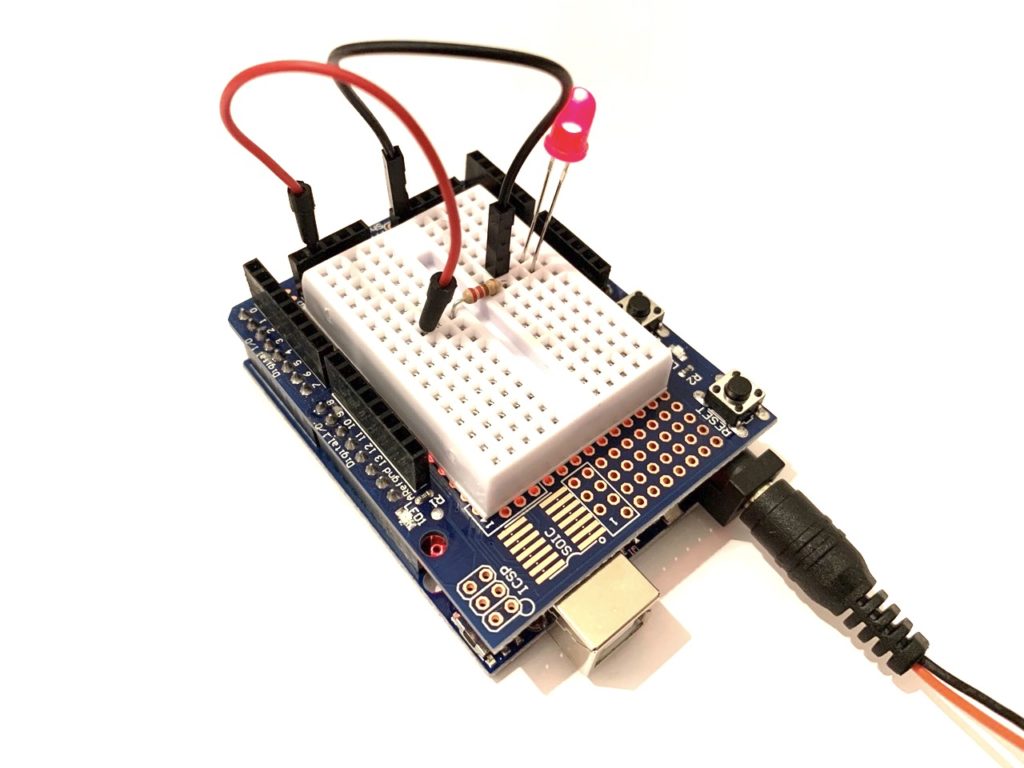
You can then attach a smaller version of the breadboard to the prototyping shield by peeling off the protective film on the underside of the breadboard and sticking it in the center of the shield.
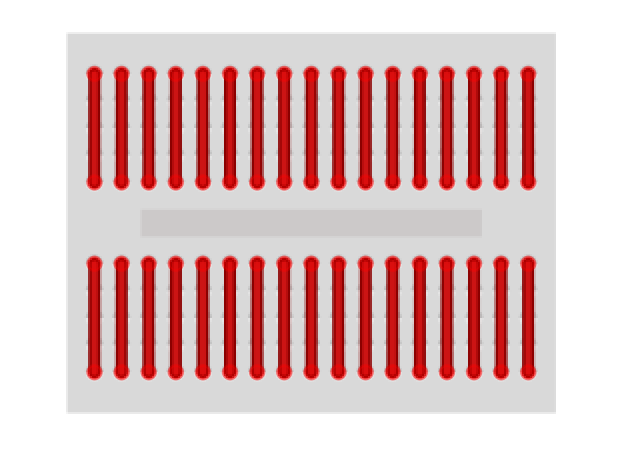
The mini-breadboard doesn’t have power rails on the sides that conduct electricity along the entire length. However, like the larger breadboard, it has two areas separated by a bridge. Within each field, current flows perpendicular to the bridge, as you can see in red above.
If you want to build smaller projects compactly or just quickly experiment with something, the prototyping shield is an interesting alternative to the normal breadboard.
