Using ChatGPT in a browser or as an app has become established for many people. But of course, OpenAI also provides a ChatGPT API that you can use to create texts or have questions answered, for example.
In this tutorial, you’ll learn how to:
- Create an OpenAI account and get the required API key
- Create prompts with Python and receive responses from ChatGPT
- Switch between models 3.5 and 4
- Give ChatGPT precise instructions that you don’t need to repeat in every prompt
Creating an OpenAI Account
To use the ChatGPT API, you need an account with OpenAI. However, if you’re already using the chatbot, you don’t need to create an extra account. Visit this website to create an account or log in.
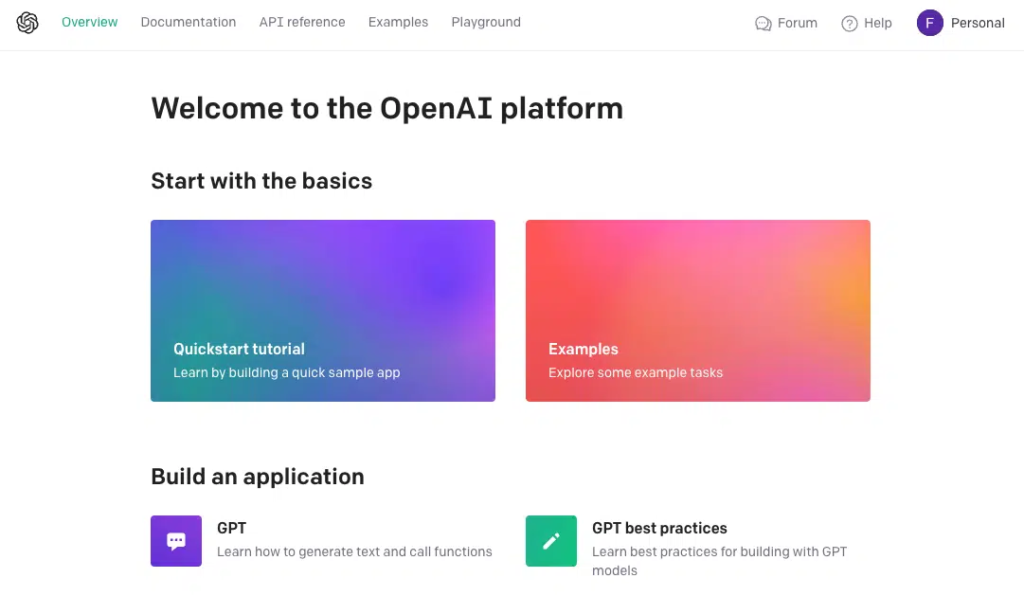
You’ll then land on the homepage. There, you’ll find a variety of tutorials waiting for you, which you can ignore for now.
Creating an API Key
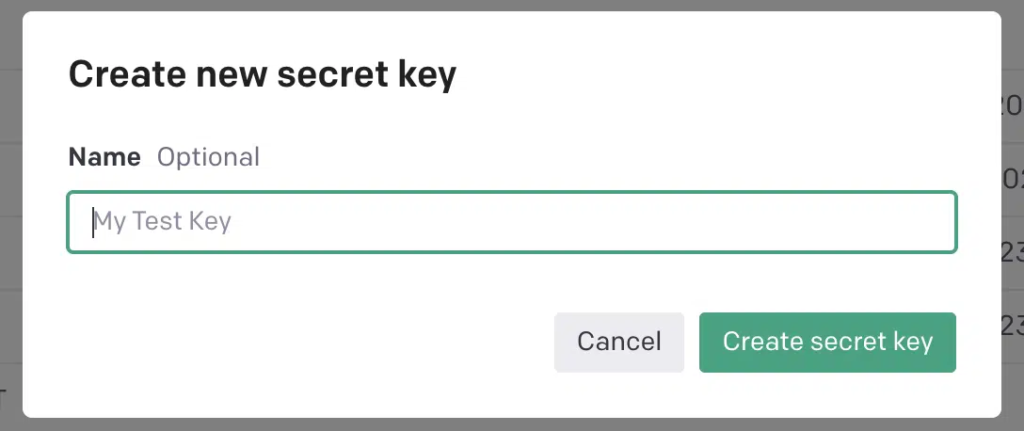
Instead, click on Personal in the top right corner and select View API keys. On the following page, you’ll find the Create new secret key button. After clicking on it, you can give your new key a (preferably descriptive) name:
Another click on Create secret key creates your new key, which you should immediately copy and save. You won’t be able to access the key later – however, in this case, you can simply create a new one.
Providing Payment Information
The ChatGPT API is not free – so you’ll need to top up your account with an amount of your choice (minimum $5). Various payment methods such as PayPal or credit card are available for this.
You can find the current prices for using the API at OpenAI. Once your account is topped up with a few dollars, you can proceed directly with the Python script.
Asking a Question with Python
As you probably already know, ChatGPT works like a kind of chatbot – you ask a question or give an instruction and receive an answer. This question is also called a prompt. The following Python script establishes the connection to the ChatGPT API, transmits your prompt, and outputs the response.
from openai import OpenAI
client = OpenAI(
  api_key="DEIN API KEY",
)

completion = client.chat.completions.create(
  model="gpt-3.5-turbo",
  messages=[
    {"role": "user", "content": "Wie lautet die Antwort auf alle Fragen?"}
  ]
)

print(completion.choices[0].message.content)
In the first line, you import the openai library. Of course, you’ll need to install this first. To do so, execute the following line in the terminal, for example:
pip install openaiA small note: The code above only works with versions of the library from 11/8/23 – if your version is older, first perform an update with pip install –upgrade openai. Back to the script: After importing the library, you store your API key, which you created earlier, in the api_key variable.
And another note: In the official openAI documentation, two other methods are suggested for storing the API key. However, these didn’t work reliably for me. If you want to try them out, you can learn more here.
Then follows the query with the function client.chat.completions.create(). Here you first specify the model, in the above example that’s GPT-3.5-turbo. Since July 2023, you can also use the better model GPT-4. But be careful: ChatGPT 4 is currently (September 2023) 20 times more expensive than ChatGPT 3.5 – you can compare the prices via the link above. The prices listed there refer to 1,000 tokens each. According to OpenAI, this corresponds to about 750 words (in English).
Ultimately, you have to decide for yourself how good the answers from ChatGPT should be within your project. If you decide on model 4, replace the corresponding line in the Python script with:
model="gpt-4",Update (Feb. 2024): Meanwhile, there’s also a GPT-4 Turbo, which is based on training data up to December 2023. You can include and use this model with “gpt-4-0125-preview”. You can find more information (also about upcoming models) here.
If you always want to use the latest GPT-4 model in your script, the ChatGPT API now offers a possibility for this: Simply use the model gpt-4-turbo-preview, which always refers to the most current version. You can find more information about this here.
The Prompt
Let’s get to the question you’re asking and sending to the ChatGPT API. You’ll find this in the script here:
messages=[
    {"role": "user", "content": "Wie lautet die Antwort auf alle Fragen?"}]
)
Here you first define the role, in this case user. This is the role of the person asking a question – just as you might be used to from the browser or the app. This is followed by the content, i.e., the actual question or instruction.
Now all that’s left is to output the answer:
print(completion.choices[0].message.content)The answer should now appear in your terminal or console, which you probably already knew. 😉
Other Roles for the ChatGPT API
Above, you used the user role. But you can also give ChatGPT more precise instructions before your actual question and thus try to “guide” the system a bit. For this, you add something with the system role beforehand:
messages=[
{"role": "system", "content": "You answer questions briefly and precisely."},
{"role": "user", "content": "What is the answer to all questions?"}
]
This is particularly useful when ChatGPT should give answers in a specific format, for example. So you don’t have to include these instructions in your actual prompt, but can create and use them separately.
And that’s it. You now have the basic Python script to communicate with ChatGPT via API. Take a look at the Raspberry Pi projects to discover possible applications. If you’re particularly interested in the field of artificial intelligence, take a look at our AI projects.
