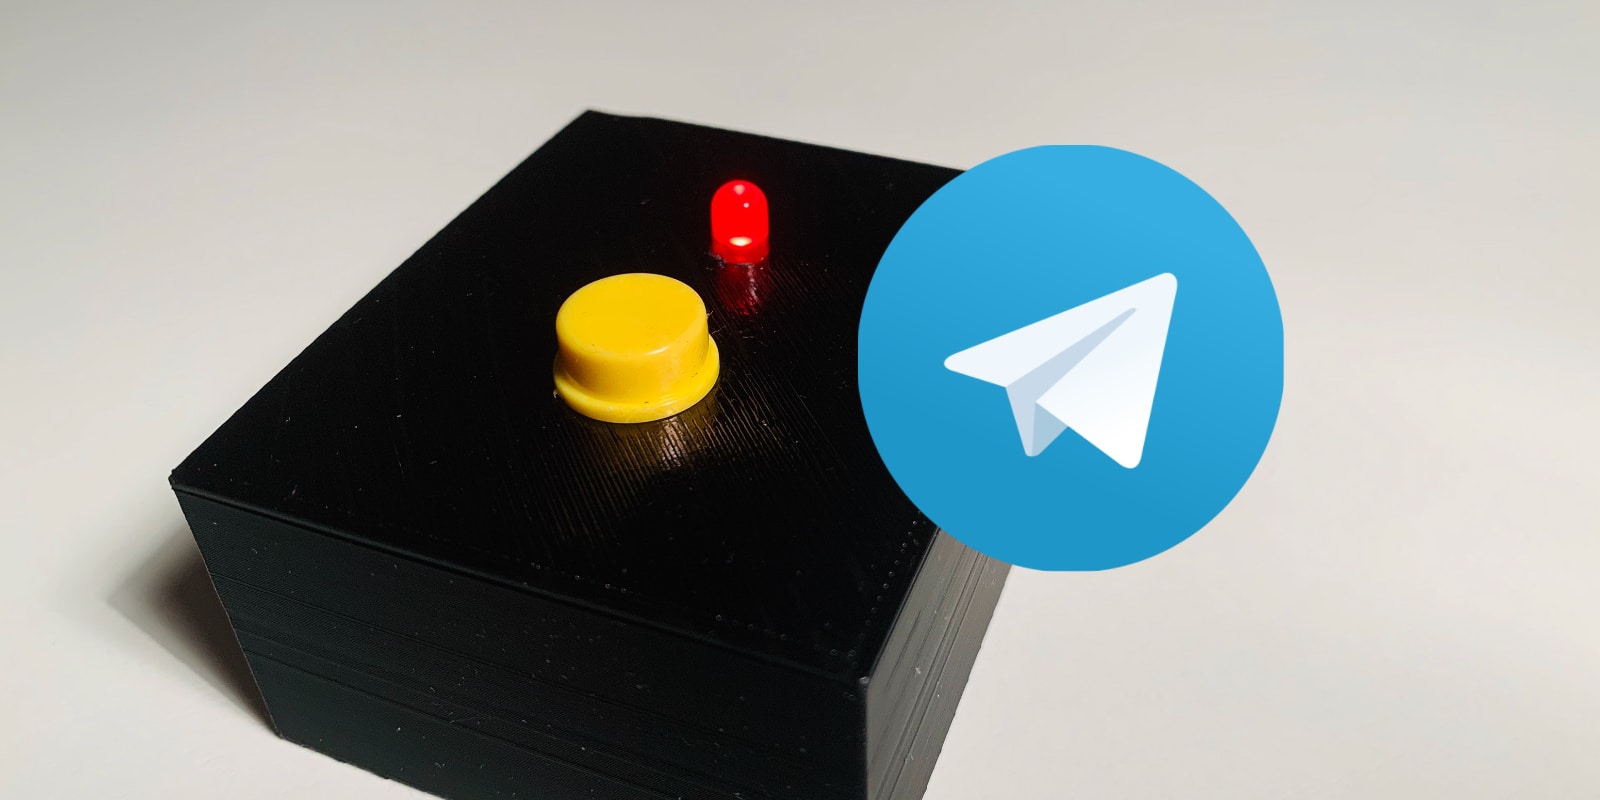
In this project, you’ll build a Dash Button using an ESP8266 that sends a message to your Telegram account at the push of a button. You can receive this message on your smartphone anywhere – as long as you have internet access.
For this project, you’ll need:
- NodeMCU ESP8266
- Button
- Breadboard & cables
Preparing Telegram
First, you need a Telegram account – and the corresponding app for your smartphone or computer. In the following, we’ll use a smartphone. Telegram is free, ad-free, and works similarly to WhatsApp. However, here you have the option to create bots that you can interact with.
You’ll take advantage of this in this project by having your ESP8266 “talk” to your Telegram bot. The bot, in turn, immediately sends you a notification.
Creating a Telegram Bot
So, if you haven’t already, download Telegram from the Play Store or App Store onto your smartphone. In this tutorials you learn how to create a Telegram Bot and find your UserID.
Have your token and your User ID ready to enter them into the sketch later. And above all, keep them secret so that no one else can use your bot.
Building the Project
Setting up on your breadboard only takes a few minutes. Simply follow this schematic:

___STEADY_PAYWALL___
The button is connected to the ESP8266 via a pull-down resistor so that it stably sends a 0 to your microcontroller as long as you don’t press it. Only when you do, your ESP8266 receives a signal and sends a message to your Telegram bot.
Once the message has been sent, the LED lights up briefly.
The Sketch for the Dash Button
Now it’s time for some code. If you’ve never used an ESP8266 with the Arduino IDE before: In this tutorial, you’ll learn how to make your ESP8266 available in the Arduino IDE and program it.
The Required Libraries
For your Dash Button, you need a total of three libraries. Two of them should already be pre-installed: ESP8266WiFi.h and WiFiClientSecure.h – you need them for connecting to your WiFi network and sending data.
The UniversalTelegramBot.h library handles communication with your Telegram bot. You can find it in the Arduino IDE’s Library Manager.
Now copy the following sketch, upload it to your ESP8266, and try out the Dash Button right away!
Note: Before your Telegram bot can receive messages, you must first call it up and tap on Start. However, you only need to do this once at the beginning.
//Dash Button with Telegram and an ESP8266
//en.https://en.polluxlabs.net/wp-content/uploads/2020/02/ESP8266-Webserver-small.jpg.net


#include <ESP8266WiFi.h>
#include <WiFiClientSecure.h>
#include <UniversalTelegramBot.h>

// WiFi Credentials
const char* ssid = "YOUR NETWORK";
const char* password = "YOUR PASSWORD";

// Initialize Telegram Bot
#define botToken "YOUR TOKEN"  // Yo get this token from the Botfather

// User ID
#define userID "YOUR USER ID"

WiFiClientSecure client;
UniversalTelegramBot bot(botToken, client);

// Button state
int switchState = 0;

void setup() {
  Serial.begin(115200);
  client.setInsecure();

  // Used Pins
  pinMode(13, INPUT); //Button
  pinMode(15, OUTPUT); //LED


  // Connection to WiFi
  Serial.print("Connecting to: ");
  Serial.println(ssid);

  WiFi.mode(WIFI_STA);
  WiFi.begin(ssid, password);

  while (WiFi.status() != WL_CONNECTED) {
    Serial.print(".");
    delay(500);
  }

  Serial.println("");
  Serial.println("Connected!");

  bot.sendMessage(userID, "Bot started", "");
}

void loop() {

  switchState = digitalRead(13);
  Serial.println(switchState);
  if (switchState) {
    bot.sendMessage(userID, "Button!", "");

    digitalWrite(15, HIGH);
    delay(200);
    digitalWrite(15, LOW);
    delay(200);
    digitalWrite(15, HIGH);
    delay(200);
    digitalWrite(15, LOW);
  }
}
Let’s take a closer look at some important parts of the sketch.
First, there’s some data that you need to replace with your own: Your WiFi credentials as well as your token and User ID from Telegram. Enter this data here:
const char* ssid = "YOUR NETWORK";
const char* password = "YOUR PASSWORD";
#define botToken "YOUR TOKEN"
#define userID "YOUR USER ID"
Then you create an instance of WiFiClientSecure called client and also a bot with your botToken defined above and the client.
WiFiClientSecure client;
UniversalTelegramBot bot(botToken, client);
In the setup of the sketch, you define the two pins you’re using. The 13 here stands for pin D7 on the ESP8266 and 15 for pin D8.
pinMode(13, INPUT); //Button
pinMode(15, OUTPUT); //LED
Finally, you start the connection to the internet. As soon as this is established, your sketch sends a first message indicating that the bot has started.
In the loop, your sketch now waits for you to press the button. As soon as this happens, the bot.sendMessage() function sends a message to the Telegram bot. After that, the LED lights up briefly twice.
switchState = digitalRead(13);
if (switchState) {
  bot.sendMessage(userID, "Button!", "");

  digitalWrite(15, HIGH);
  delay(200);
  digitalWrite(15, LOW);
  delay(200);
  digitalWrite(15, HIGH);
  delay(200);
  digitalWrite(15, LOW);
}
Of course, you can define the message you want to send in the bot.sendMessage() function yourself.
What’s Next?
You now have a Dash Button that can send messages to your Telegram bot. A similar project could be, for example, a temperature sensor that sends a warning notification to your smartphone at a preset temperature.
Also you can send a message with a different service. In this tutorials you’ll learn how to send Emails and WhatsApp messages.

