Tutorials
-

MQTT (Part 4): Secure Communication Between Devices
Ensuring secure communication between devices is crucial when working with MQTT. In the previous parts of this MQTT series, you set up communication between two ESP8266 devices and exchanged sensor data. However, security measures were not yet implemented. Without proper security, an unauthorized user could intercept your data or disrupt your system. This tutorial will…
-
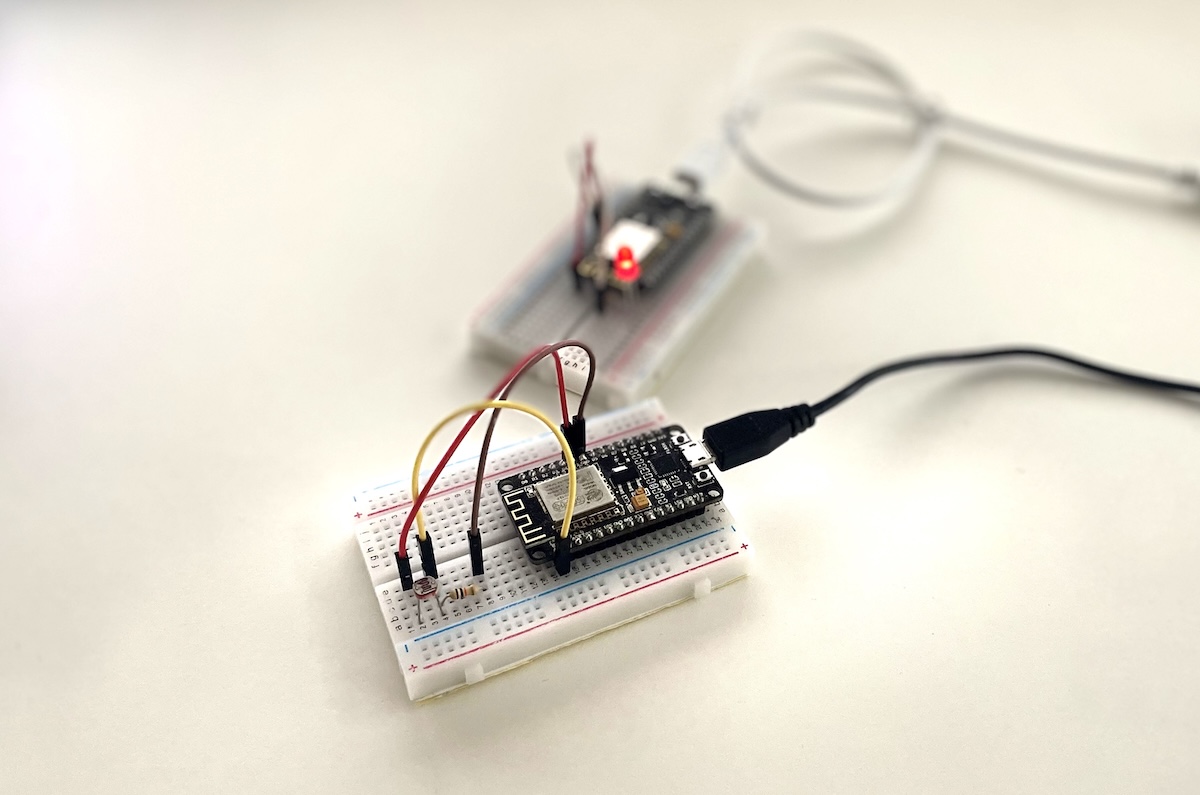
MQTT (Part 3): Sending and Receiving Data
In the previous part, you learned about the MQTT broker and how to set it up with Mosquitto on a Raspberry Pi. Now, it’s time to establish communication between devices. In this tutorial, you will learn how to send data from an ESP8266 to the broker and how another ESP8266 can subscribe to this data…
-
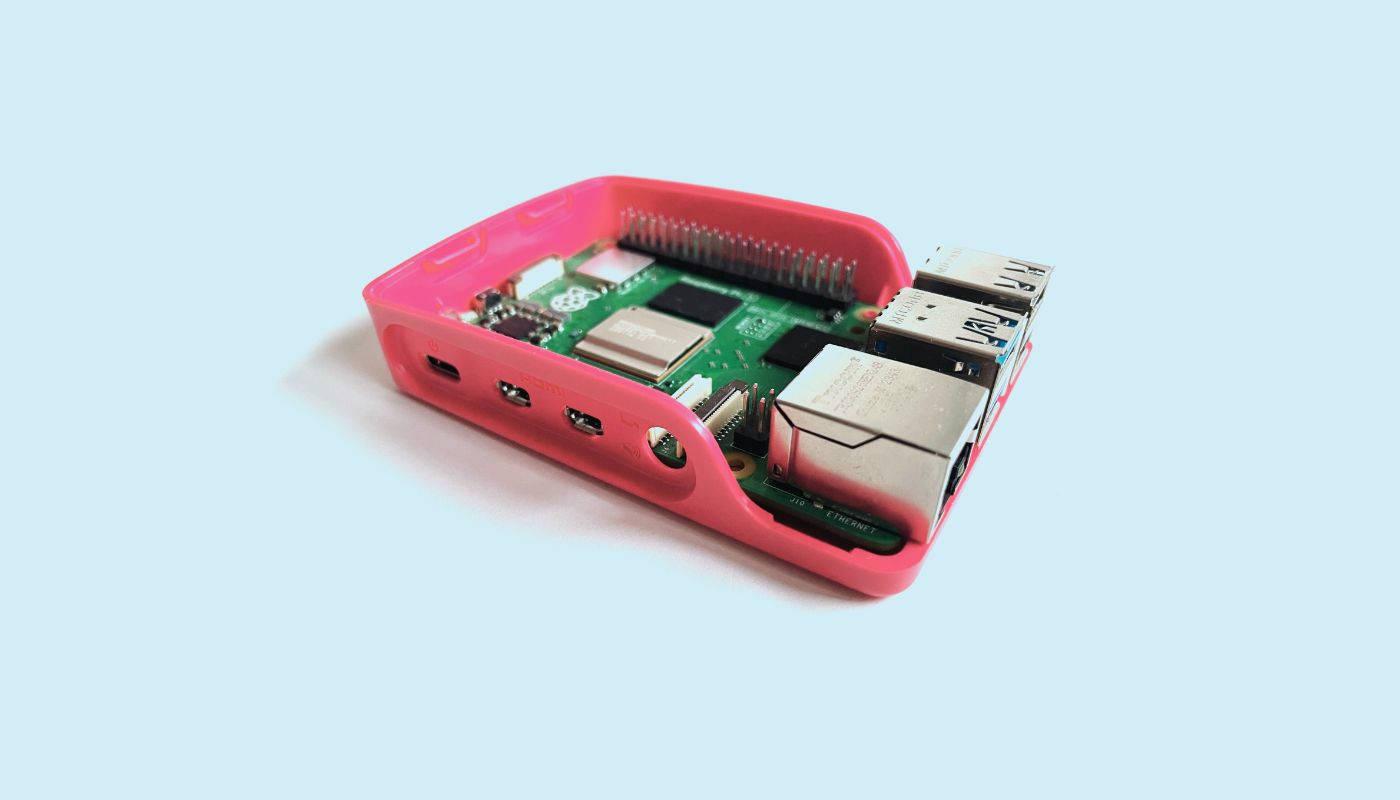
MQTT (Part 2): Setting Up an MQTT Broker on the Raspberry Pi
In the previous part, you learned the basics of MQTT. Now, we dive deeper into the central element of any MQTT application: the broker. In this tutorial, you will learn how to set up an MQTT broker on your Raspberry Pi using Mosquitto. What is an MQTT Broker? An MQTT broker is the heart of…
-

MQTT (Part 1): Introduction
This tutorial series is all about MQTT – the messaging protocol that is excellent for exchanging data between devices. Imagine you want to monitor the temperature in your greenhouse. To do this, you install temperature sensors that send their readings via MQTT to a central broker. The broker then distributes the data to all “interested”…
-
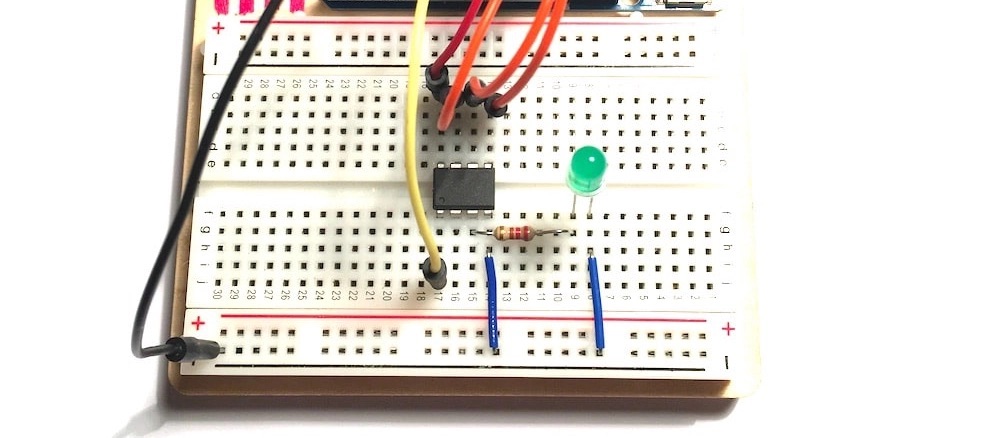
How to Program an ATtiny85 with the Arduino
Sometimes, even a small Arduino is too large for your project. Maybe you only need a few pins, want to use as little power as possible, or don’t have enough physical space. In these cases, the ATtiny85 might be just what you need. ATtiny processors come in various versions, but the ATtiny85 is the most…
-
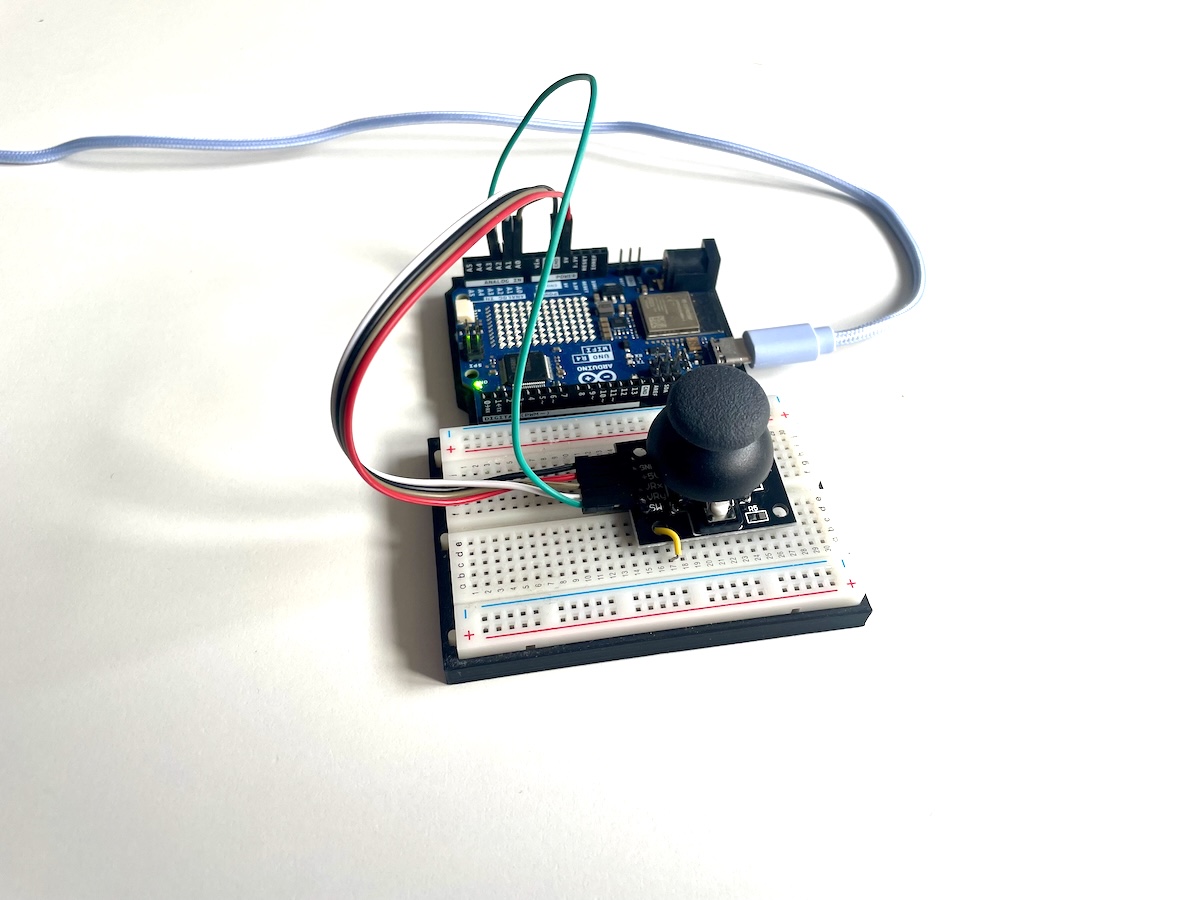
How to Use an Arduino Joystick
The joystick module is a versatile input device commonly used in maker projects. In this article, you’ll learn how to connect an Arduino joystick to an Arduino UNO, how it works, and how to use it in your next project. How the Joystick Works The joystick module uses potentiometers for the x-axis and y-axis. When…
-

Sustainability in DIY Projects: How You Can Craft Responsibly
As a maker, you’re often excited about bringing your ideas to life and building things from scratch. Especially in the world of electronics projects, whether with Arduino, Raspberry Pi, or other platforms, sustainability plays an important role. Sustainability means using the earth’s resources responsibly, minimizing waste, and making environmentally friendly choices. In this article, we’ll…
-

UX Design for Makers: How to Build User-Friendly Projects
As makers, we are often so fascinated by our projects that we overlook a crucial aspect: user-friendliness. We enthusiastically solder components, program microcontrollers, and build complex mechanisms, but often realize in the end that only we can operate them effectively. Friends and family, whom we proudly show our latest creation, stand in confusion. This is…
-

Collecting Data in Edge Impulse with the Arduino Nano 33 BLE Sense
Collecting Data in Edge Impulse with the Arduino Nano 33 BLE Sense If you want to develop AI models using machine learning with Edge Impulse, you need one thing above all: data. Lots of data. In this tutorial, you’ll learn how to collect motion data using the accelerometer of the Arduino Nano 33 BLE Sense…
-
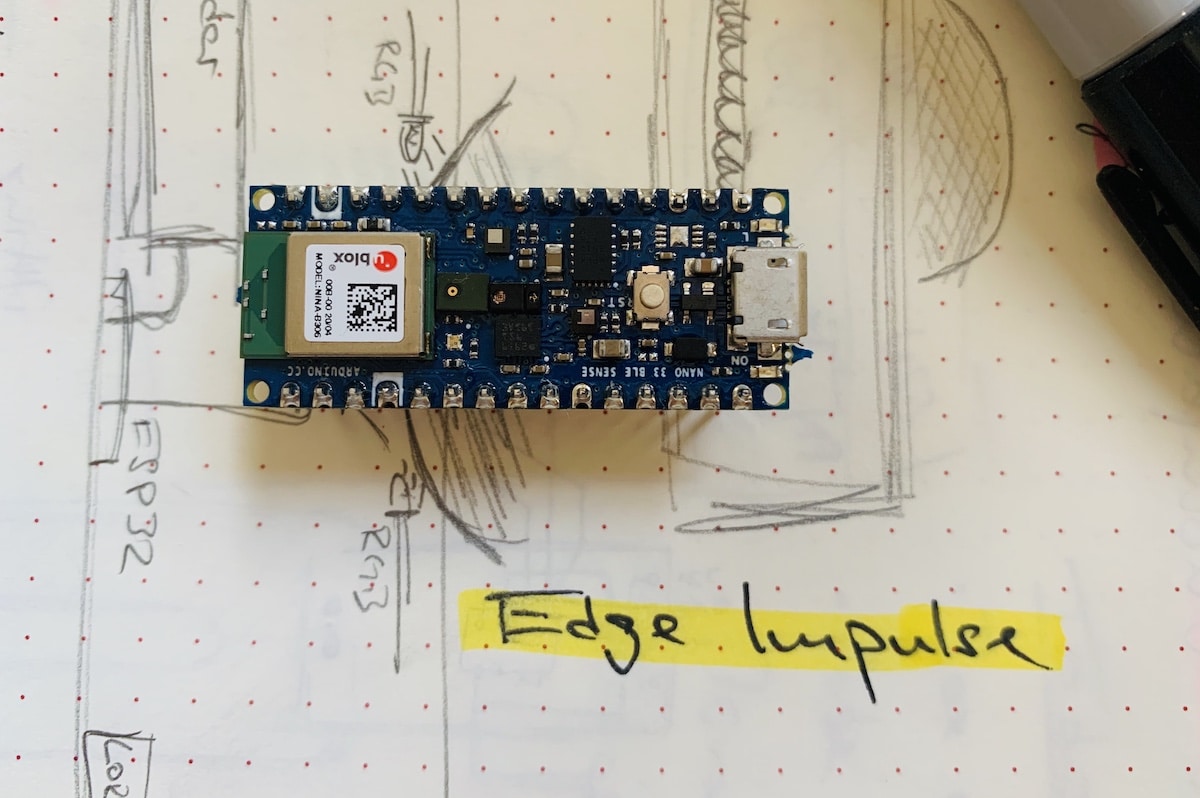
Connecting Arduino Nano 33 BLE Sense with Edge Impulse
With Edge Impulse, you can easily collect sensor data, develop AI models from it, and deploy these back to a microcontroller. The perfect companion for this is the Arduino Nano 33 BLE Sense – not only does it have suitable sensors directly on the board, but it’s also capable of running your AI models. In…
