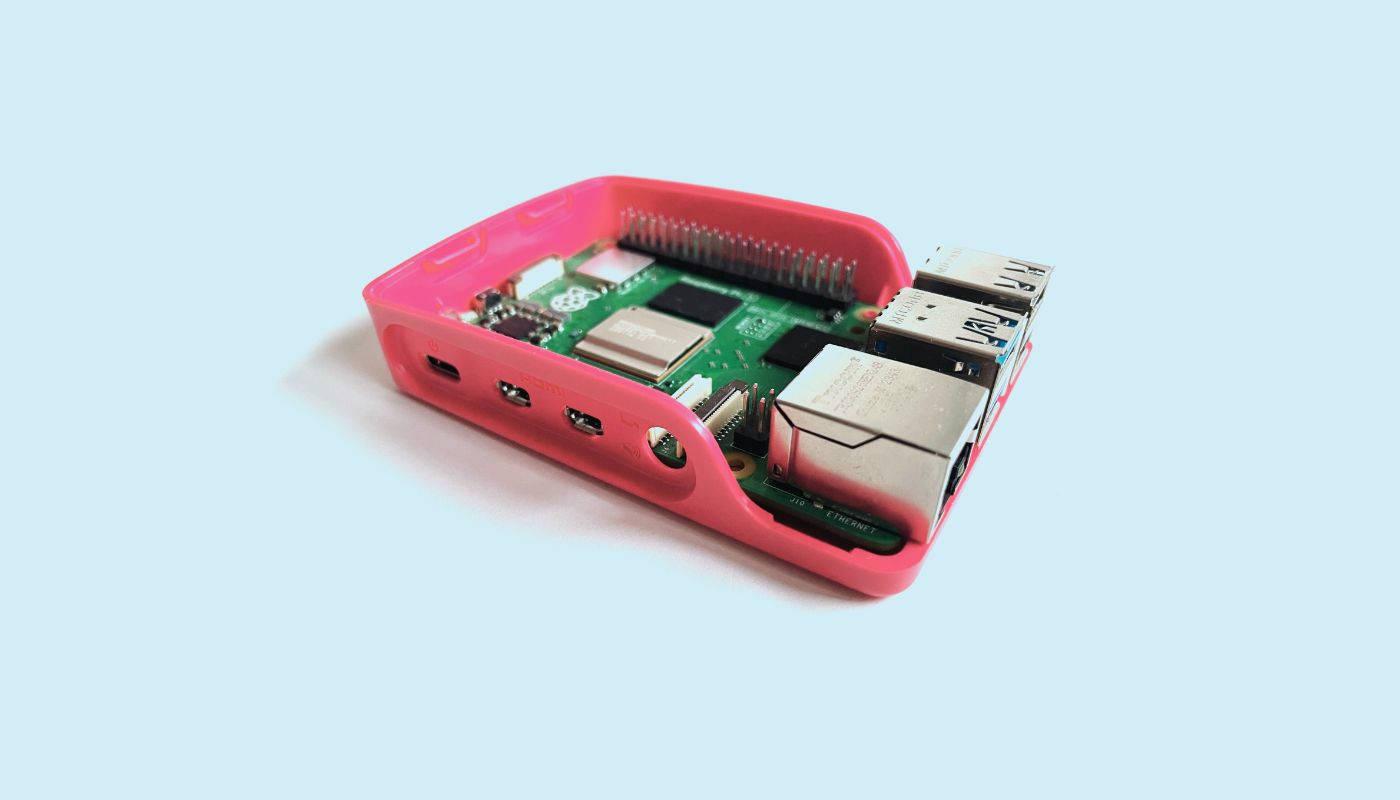
In the previous part, you learned the basics of MQTT. Now, we dive deeper into the central element of any MQTT application: the broker. In this tutorial, you will learn how to set up an MQTT broker on your Raspberry Pi using Mosquitto.
What is an MQTT Broker?
An MQTT broker is the heart of any MQTT-based communication. It acts as a central mediator between devices that send messages (publishers) and those that receive messages (subscribers). Think of the broker as a smart postman who receives messages and distributes them to the right recipients.
Responsibilities of an MQTT Broker
An MQTT broker has the following main responsibilities:
- Accepting connections: The broker accepts connections from MQTT clients (publishers and subscribers).
- Receiving messages: It receives messages from publishers.
- Distributing messages: The broker forwards received messages to the appropriate subscribers.
- Ensuring security: It handles client authentication and authorization.
- Maintaining Quality of Service (QoS): The broker ensures that agreed QoS levels are met.
- Managing retained messages: It stores the last messages for specific topics.
- Handling Last Will and Testament (LWT): The broker sends LWT messages when clients unexpectedly disconnect.
Popular MQTT Brokers
There are various MQTT broker implementations, both open-source and commercial. Here are some of the most popular ones:
- Mosquitto: A lightweight open-source broker, ideal for beginners and smaller projects.
- HiveMQ: A scalable commercial broker with many additional features for mission-critical IoT applications.
- VerneMQ: An open-source broker designed for scalability.
- AWS IoT Core: A fully managed cloud broker by Amazon Web Services.
In this course, we focus on Mosquitto because it is easy to install and configure and is sufficient for most maker projects.
Setting Up Mosquitto on a Raspberry Pi
Let’s now set up a Mosquitto broker step by step on your Raspberry Pi. If you don’t have a Raspberry Pi available, you can also install Mosquitto on your PC or Mac. The steps are similar, but the exact commands may vary depending on the operating system.
Step 1: Install Mosquitto
Open a terminal on your Raspberry Pi and run the following commands:
sudo apt update
sudo apt install mosquitto mosquitto-clients
The first command updates your system’s package lists. The second command installs the Mosquitto broker and the Mosquitto clients. The clients are useful command-line tools that we will use for testing later.
Step 2: Start the Mosquitto Service
After installation, we need to start the Mosquitto service:
sudo systemctl start mosquittoStep 3: Check the Status
To check if Mosquitto has started successfully, use the following command:
sudo systemctl status mosquittoYou should see an output similar to the following:

If you see Active: active (running), your Mosquitto broker is running successfully!
Testing Mosquitto
Mosquitto comes with two useful command-line tools:
- mosquitto_pub: Used to publish messages to a topic.
- mosquitto_sub: Used to subscribe to topics and display received messages.
Let’s use these tools to test our broker.
___STEADY_PAYWALL___
Step 1: Subscribe to a Topic
Open a new terminal window and enter the following command:
mosquitto_sub -t testThis command subscribes to the topic “test.” The terminal will now remain open and wait for incoming messages.
Step 2: Publish a Message
Open another terminal window and publish a message using the following command:
mosquitto_pub -t test -m "Hello MQTT!"This command publishes the message “Hello MQTT!” to the topic “test.”
Step 3: Check the Result
In the first terminal window where you executed mosquitto_sub, you should now see the message “Hello MQTT!” If so, you have successfully set up and tested your first MQTT broker!

Conclusion and Outlook
In this tutorial, you learned what an MQTT broker is, its responsibilities, and how to set up your own Mosquitto broker on a Raspberry Pi. You also learned how to test the broker using Mosquitto’s command-line tools.
A running MQTT broker is the foundation for many exciting IoT projects. In the next part, you will learn how to set up various devices like the ESP8266 as MQTT clients to send and receive data. You will see how easy it is to transmit sensor data, control devices, and build IoT systems using MQTT.
Until then, feel free to continue experimenting with your Mosquitto broker:
- Try sending and receiving messages on different topics.
- Check out the Mosquitto documentation to learn more about configuration options.
- Think about which applications in your home or environment could benefit from MQTT-based communication.
Have fun experimenting with your new MQTT broker!

