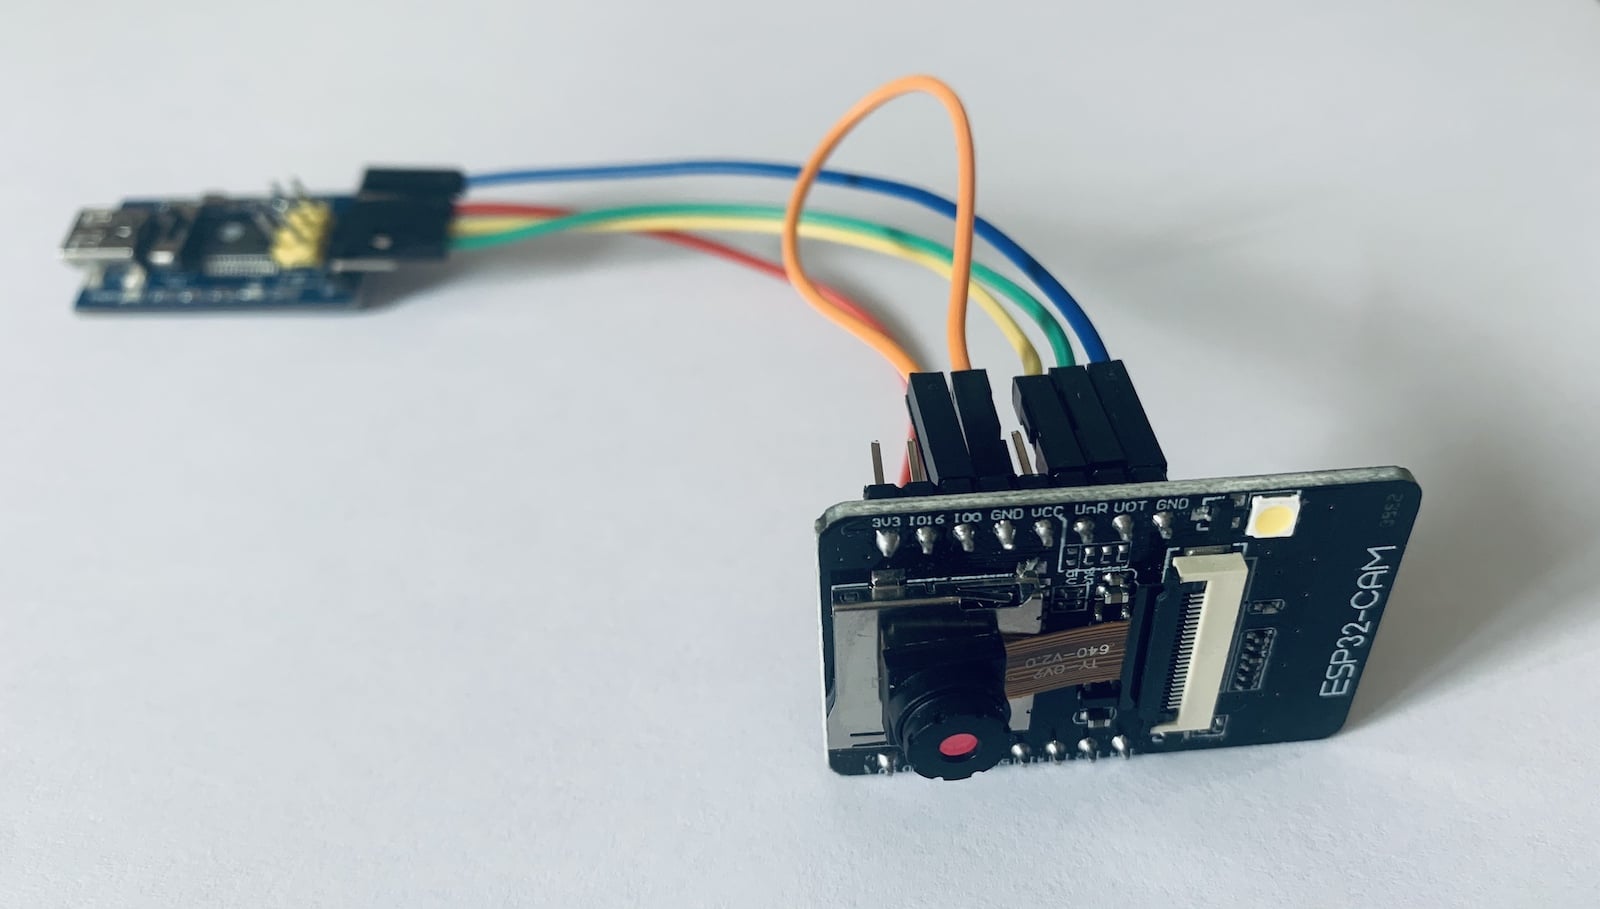
Do you want to take photos and save them on an SD card, send them over the internet, or even set up a trail camera? Then the ESP32-CAM is a great option! There’s just one issue: The board doesn’t have a USB port. So what can you do?
In this tutorial, you’ll learn how to program your ESP32-CAM directly in the Arduino IDE using a USB/Serial adapter.
Preparations in the Arduino IDE
If you haven’t connected the ESP32-CAM to your Arduino IDE yet, do that quickly. Open the settings and paste the following URL in the field next to Additional Board Manager URLs:
https://dl.espressif.com/dl/package_esp32_index.jsonNow close the window by clicking OK. Next, open the Tools menu and select the Boards option, then Board Manager.
In the window that opens, search for ESP32. You’ll probably find only one entry there. Click on Install, wait for a short while, and that should be it.
Once you’ve done that, you’ll find the entry AI Thinker ESP32-CAM in the menu Tools > Board – you’ll need this later.
Programming via an adapter
Since you can’t connect the ESP32-CAM directly to your computer, you need an adapter that enables serial communication via USB. These are also called FTDI adapters – named after the company FTDI, which specializes in these applications.
To upload a sketch, connect your ESP32-CAM and the FTDI adapter as follows:

Here are the connections clearly listed:
| FTDI Adapter | ESP32-CAM |
|---|---|
| GND | GND |
| VCC | 5V |
| TXD | U0R |
| RXD | U0T |
Important: When uploading a sketch, you must connect pin IO0 to GND on your ESP32-CAM – shown in light blue in the diagram above. To run the sketch later, disconnect this connection and press the Reset button.
Once you’ve wired the adapter and the ESP32-CAM together as described above, connect the adapter to your computer. Then select the AI Thinker ESP32-CAM board and the correct port in the Arduino IDE and upload your sketch.
Not working?
The most common error is the missing connection between IO0 and GND, which you need to establish during upload. If you’re using a cable for this, check if it’s functioning properly.
Another source of error can be the USB cable: Can you transfer data with it, or does it only provide power? Sometimes problems can also occur if the cable is too long – just try a different one.

